


Yes I am aware that this is the first project I’ve completed in the best part of a year! I’ve been busy!
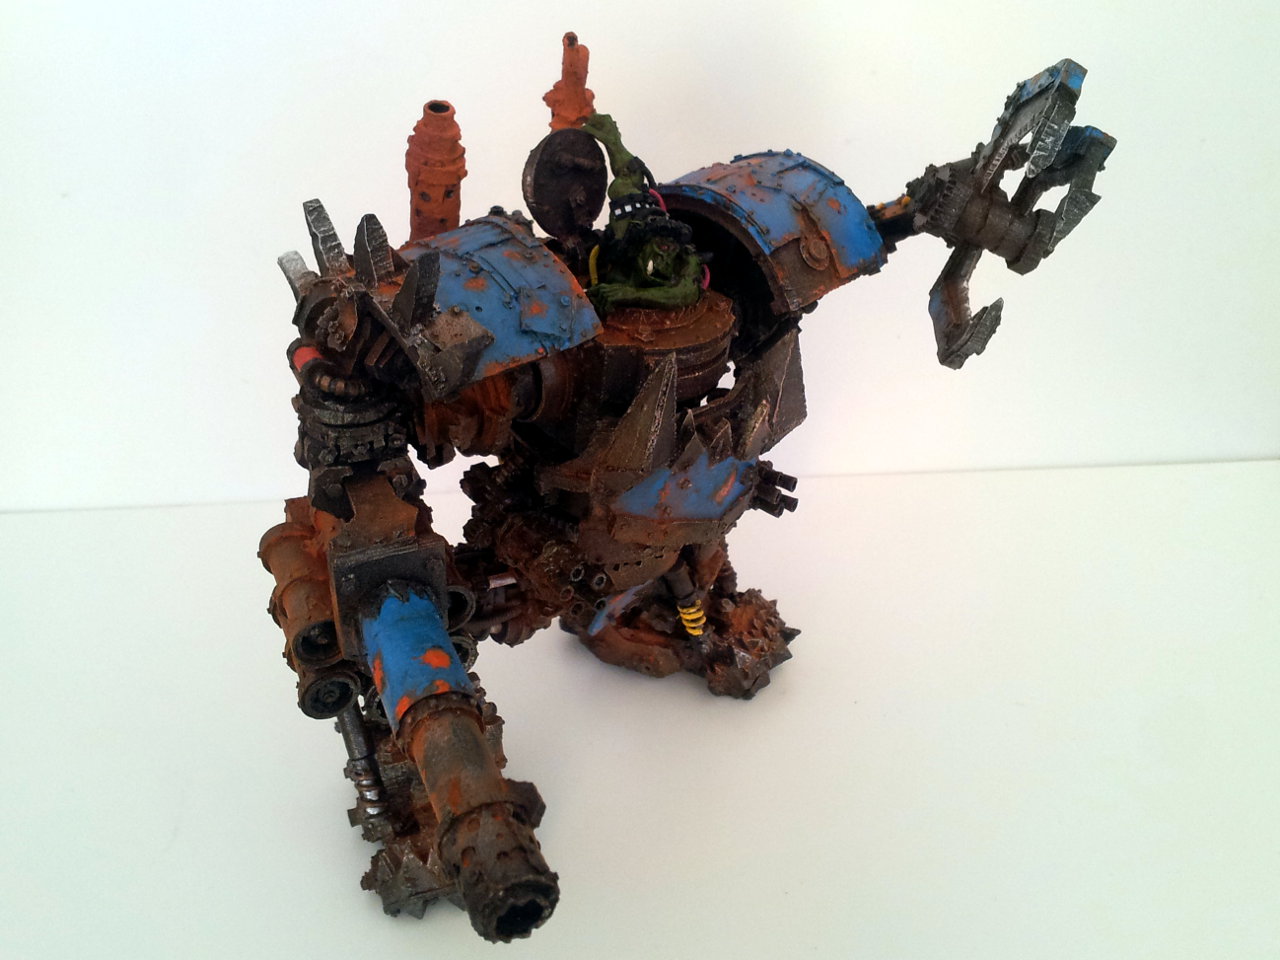
Since I have a soft spot for mecha models when I first saw the FW Ork Mega Dread I instantly fell in love – the ramshackle design is marvellous in its chaos. Unfortunately like all FW resin-crack it’s pretty expensive, so I could never justify purchasing one. But then earlier this year I managed to acquire one for cheap because it was missing a couple of bits. Through my contacts I was able to source a couple of replacements and thus began my journey into painting a rusty, ramshackle mecha.
Phil Stutcinskas has done a fantastic job of the model – the level of detail is just insane. I particularly loved all of the gears and the way that many of them mesh together. I applaud the variety of cables and hoses he has employed also.
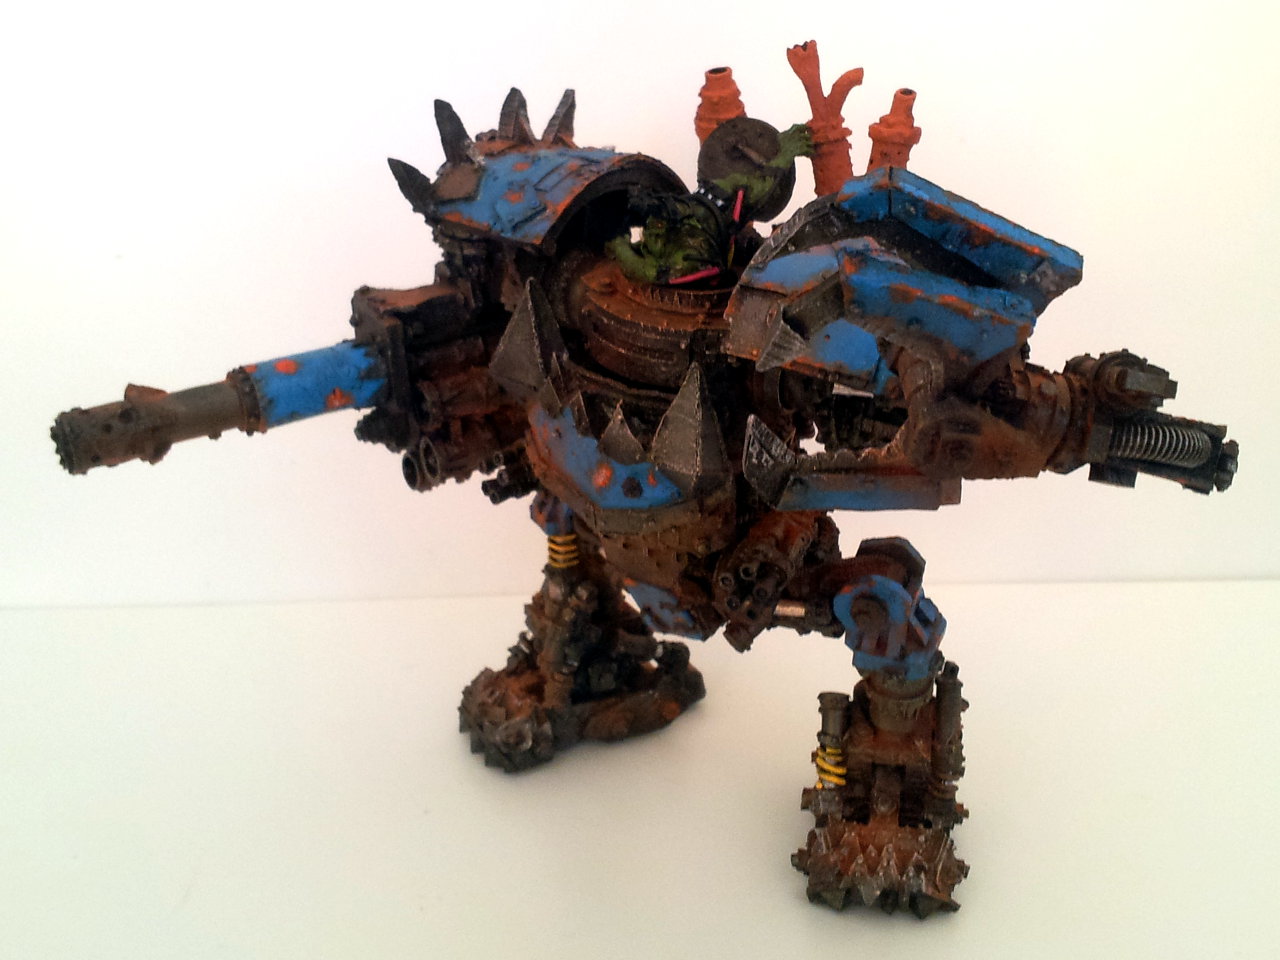
Now I have to say up front that this was my first time using pretty much all of the techniques I used to paint this. In the past the bulk of my painting was of Tau models for tabletop use, which had very clean lines and no metallics. I decided that other than the primary metal colour of the model I wanted to have a highlight colour of blue. I have a blue car, a blue hobby desk and I’m wearing a blue shirt as I type this. Maybe I’m a Bowerbird? In Ork mythology blue is supposed to be lucky and I can’t say I do too badly!
Here’s a rundown of the technique I used (in ideal order – I did things is a screwed up order):
- Prime (Tamiya Surface Primer which is grey)
- Airbrush all but the areas I wanted to be blue in Tamiya black
- Paint a few random bits in very dark brown (probably should have done it a little lighter)
- Airbrush on a light coat of Vallejo Game Colour Gunmetal
- Black and brown washes (GW and Secret Weapon)
- Paint blue panels
- Paint all of the pistons, hoses and springs (some in metallic, some red, some yellow)
- Dark blue wash the blue panels
- Sponge chip the blue panels with a black and gunmetal mix
- Stipple brown and then orange onto the blue panel chips for rust
- Drybrush metallic silver on all of the upper metal edges
- Paint the exhausts with a mix of brown paint and Secret Weapon Orange Rust pigments. I followed up with some stippled on Brown Rust pigment to give some variation.
- Dust the whole model with Orange Rust pigment.
I procrastinated a bit on that last step before I did it, but I’m so glad I did. The rust powder took the model from looking OK to looking great and really pulled everything together to give a uniform neglected appearance. The blue panels and orange rust really work well together.
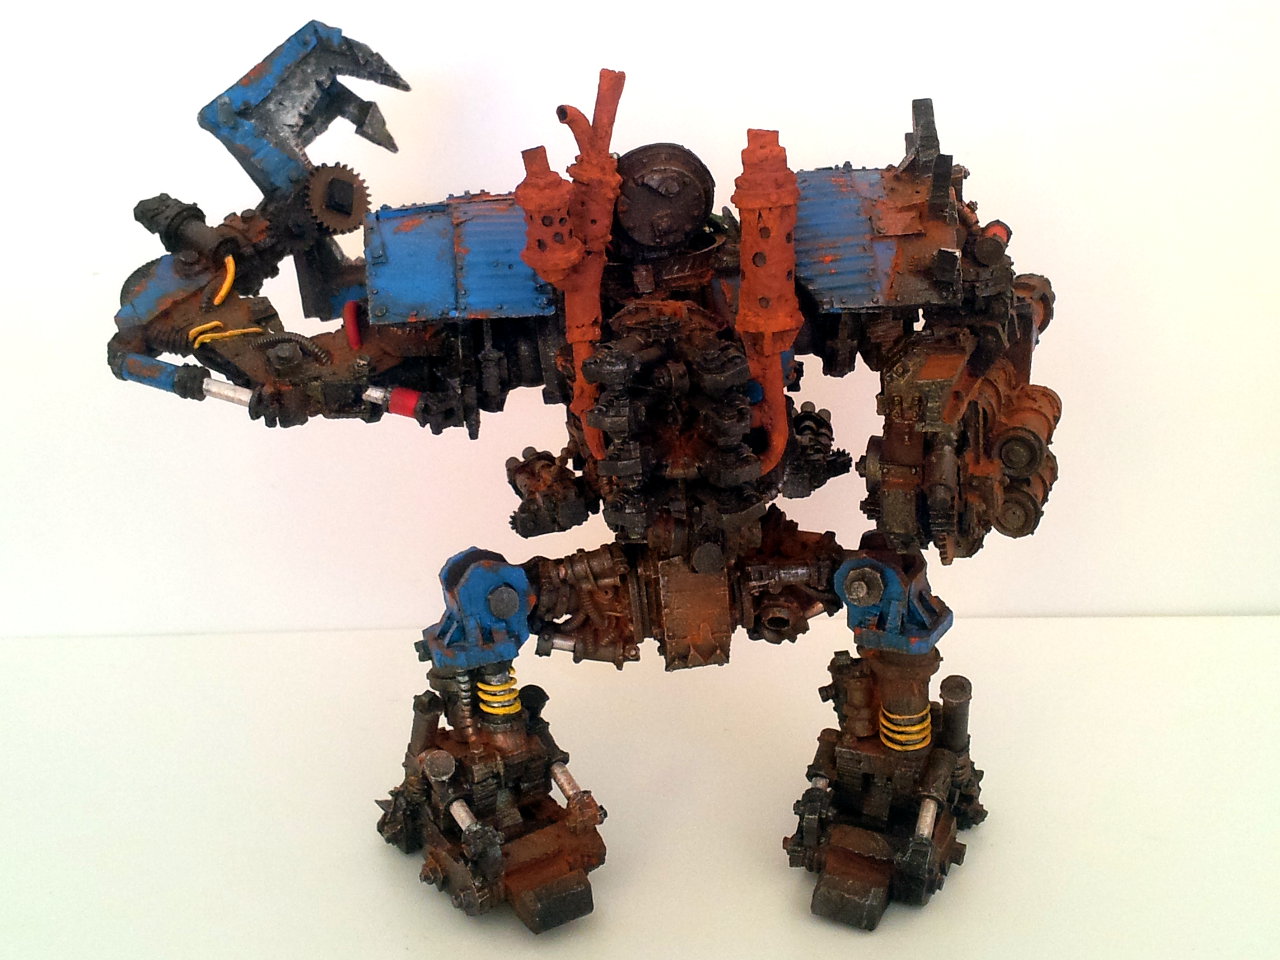
Now I realise that in the scheme of things this is far from award winning painting – like I said this was my first time trying out a lot of these techniques so there was a lot of trial and error involved. I did a few steps in the wrong order. From a technical point of view my rusty paint chips are all the wrong way around. But IMO the net result looks quite nice and I’m very pleased with the result.
I’m still deciding whether to make a display base for it or not. I do feel that bases complete the model so I would prefer it. I’m envisioning the edge of some highway asphalt with the Mega Dread standing there at idle.
Thanks for looking!
One Response to “Painted: Forge World Ork Mega Dread”
Leave a Reply
You must be logged in to post a comment.
September 22nd, 2012 at 3:22 pm
[...] on my recent Ork Mega Dread paint up I wasn’t all that impressed with the paint chipping technique of simply sponging on colours. [...]