Posted by
Mangozac on July 23, 2013
 The first in-house product has been added to the RA Shop: my space ship Spear Prows.
Initially they had proven very difficult to cast so I didn’t produce many of them but due to popular demand I have remoulded using a new orientation and now make them available for your hobby pleasure!
If you’re interested in buying some just follow the link above and follow the ordering instructions.
Posted under
News,
Showcase
Posted by
Mangozac on July 18, 2013
Well I think I’ve worked out what to do on the front of the torso. After some discussion (and concept art) with my mecha design advisor Xeones on the RA forums I started putting knife to styrene. It’s really difficult to design polysurface shapes like this in styrene so I decided to go one step back and mashed a big blob of clay to the front. From there it’s really easy to sculpt shapes and modify them.
I did this until I came up with the following. Please excuse the terrible photography!

The lighting makes it hard to really get a feel for the shape, but I’m really pleased with it. Ignore those weird looking plates either side of the waist – that is just an experiment for waste armour. It’s a bit dumb like that but I like the general direction of having a small plate either side.
I’ve got one of the shoulder pads mostly finished – it takes ages gluing on all of the banding! I’ve added three large dome rivets recessed into holes. I imagine these would be what fixes the shoulderpad to the shoulder.
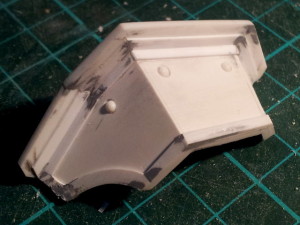
I’ll probably make a mould of the shoulderpads as soon as they’re finished. I’d like to also do an alternative shoulderpad for one side with some iconography sculpted onto it but I’ll do that to a resin copy, not one of the masters 😉
Posted by
Mangozac on July 13, 2013
My hobby time of late is split between painting the brass banding on the Warhound (a loathsome task) and working on the Centurion torso. The beauty of having a painting and scratchbuilding project going at the same time is that working on one is a nice break from the other (rather than spending all of my available time just paint or just scratchbuilding, which is an easy way to burn one’s self out).
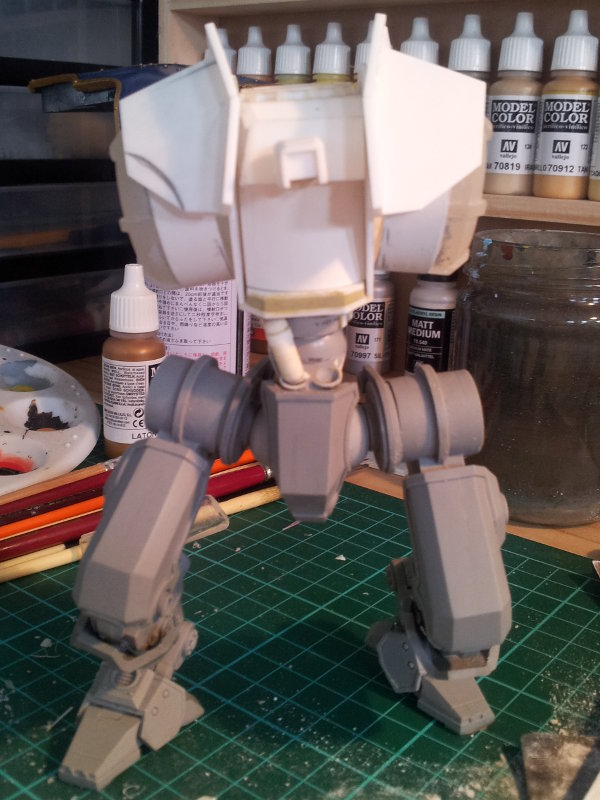
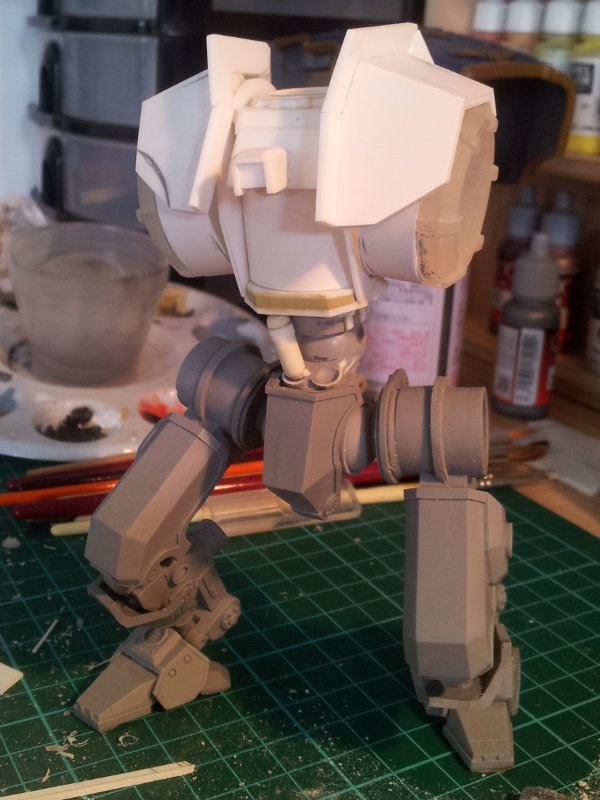
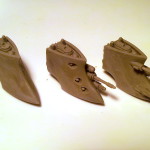
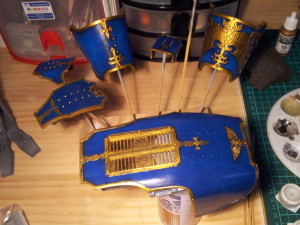
I finished the basic form of the shoulder pads as per the following pictures, but I’m contemplating whether a concave curve like I’ve pencilled in on the left side of the photos might look better. I just don’t want it to look like it’s been copied from the Forge World Chaos Decimator. Once I device on that I can then start cutting out and applying the banding to the shoulder pads.

I’m yet to decide what’s going to happen with the chest area. Previous WIP posts have shown some armour plates there but I wasn’t completely sold on it. I think it might need something protruding a bit, as is common in many Japanese mecha designs. Either way there will be a floating armour plate protecting the abdominal mechanics. Spikes still aren’t off the table either…
Oh you can also see the progress I’ve made on the head so far. Yes it’s tiny – it’s supposed to be. Once it has a plume it will look a bit bigger 😉
Posted by
Mangozac on July 5, 2013
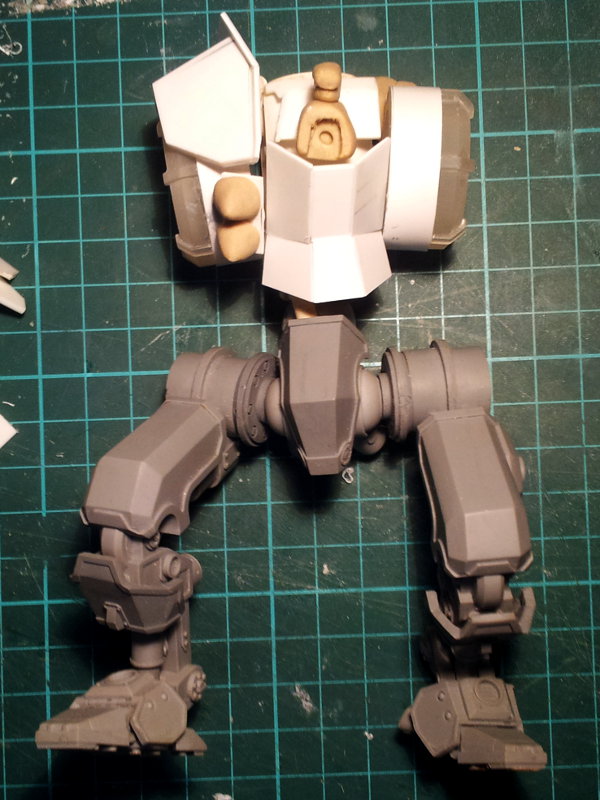
Just a quickie for today. I was playing around with torso layouts last night and feel like the following is going in the right direction:

Obviously it’s all still very rough (especially the armour plating – I’m not quite sold on the plating on the front). The two clay blobs on the left are actually spikes – I thought that some stumpy spikes on each side of the torso would look suitably Romanesque.
I’ll do some more playing over the weekend…
Posted by
Mangozac on July 4, 2013
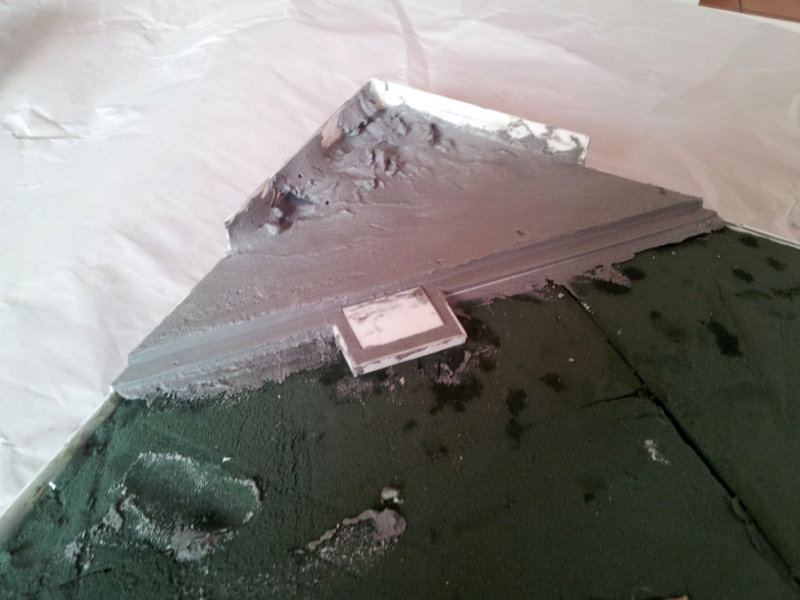
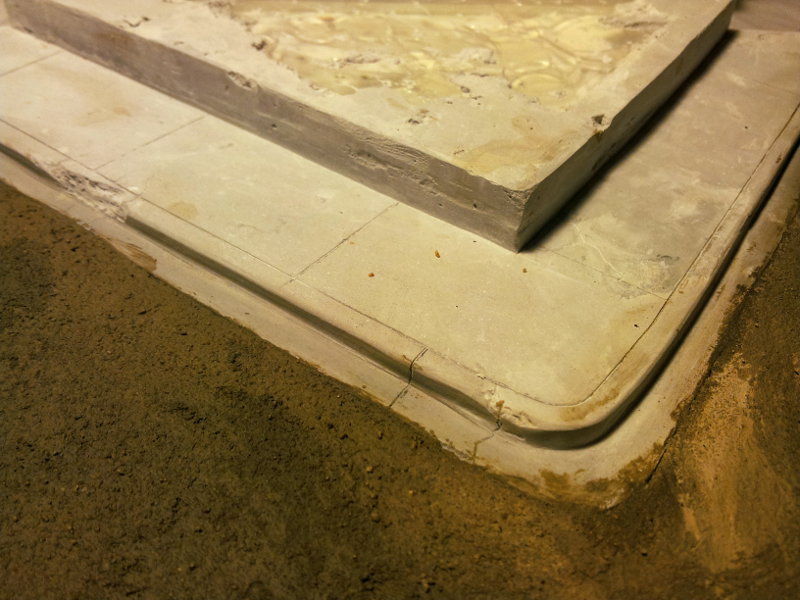
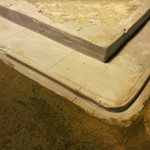
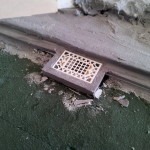
I’ve been doing some more work on the Warhound project of late. The last fortnight has seen some major work on the base. All of the plaster work is done (I’m using Hydrocal tinted with a little black paint) and has been cleaned up (scraping and sanding). I also scribed all of the details into the concrete and then laid the asphalt. The asphalt is a mix of plaster, fine sand, PVA and black acrylic (I just used cheap discount store acrylic and ran out of it near the end). It’s actually really difficult to smooth out properly and once it’s dried properly I’ll give it a bit of a smooth out 😉
Here’s some progress shots:
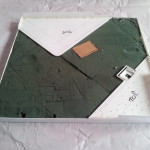

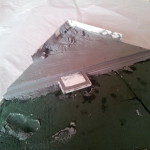
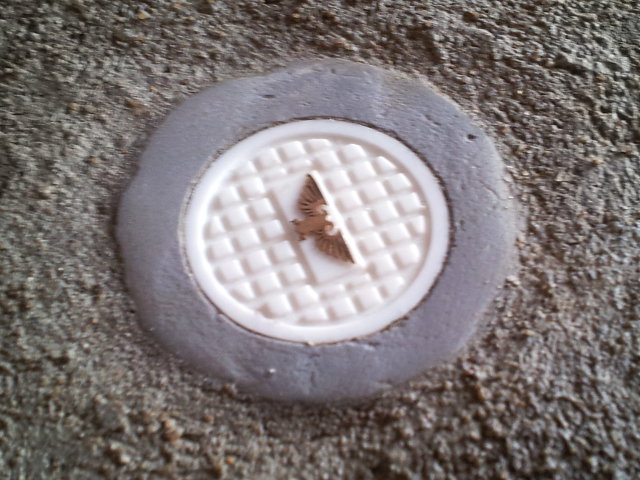
Two things I felt were necessary for the road and guttering were a stormwater drain and a sewer manhole cover. More Inkscape and CNC work have facilitated some pieces I’m really pleased with:

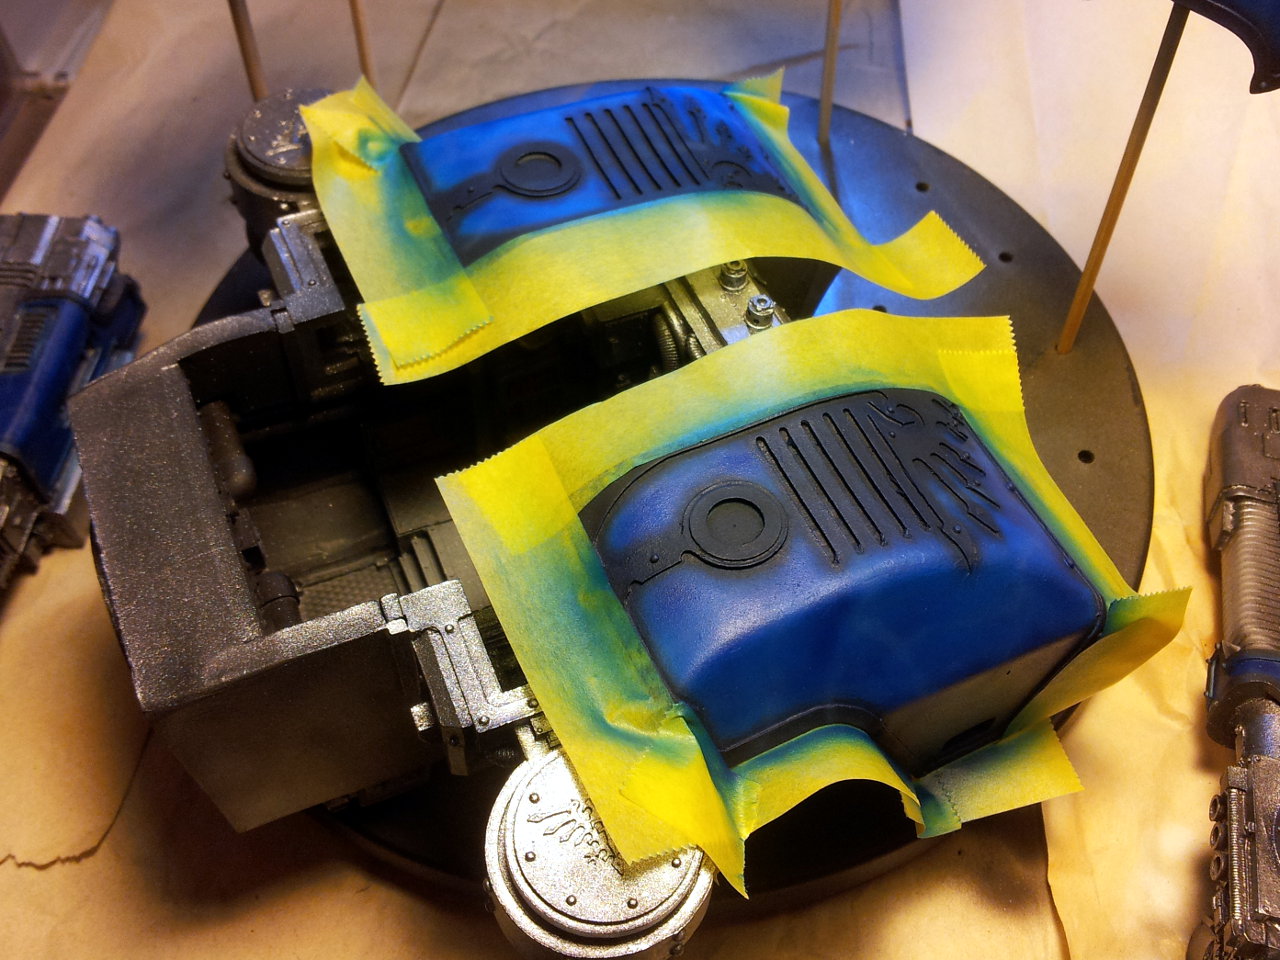
Painting the Warhound is coming along nicely. All of the blue is done (except the legs, which haven’t been primed yet because I’ve been playing around with them sorting out the base and don’t want to damage the paint in the process). I decided to have a go at doing a marbled effect on the blue armour plates by mixing a little white with the blue colour and spraying it on in wavy lines (with the airbrush set at a very low pressure), but it was a bit too light and contrasted too much. So I had to spray a thin coat of the base blue colour over the top to dull the marbling down a bit…
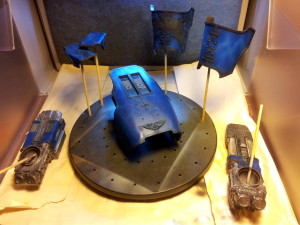
I masked off the metallics that had already been done so that they didn’t get tinted blue from overspray:

Here’s a shot showing the pre-shading on the head armour plating. It’s since been painted yellow, but I have’t grabbed a pic of it yet. The pre-shading works really well with light colour like yellow!
I’m currently working on the brass banding and it is officially the most boring part of this entire project! It takes forever and requires two coats to get a good coverage (you can see what just one coat looks like on the torso armour plate).
Posted by
Mangozac on July 3, 2013
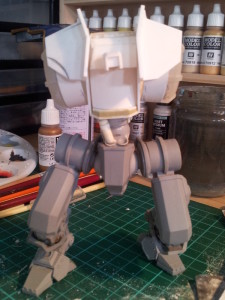
ERMAGERD! It’s a Centurion update! 😮
Well following some recent 3D discussion over on WargamerAU (and subsequent goading by AwesomeShotDude), I decided that I would kick this project back into gear by 3D printing the parts which have been putting off re-making: the shoulder cylinders. Here’s the existing parts on the torso:
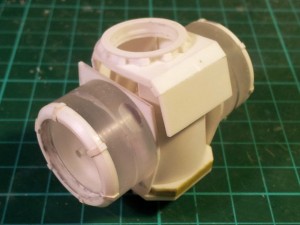
I was unhappy with the size of the existing cylinders that I had created and decided they needed to be about 25% larger diameter. While they’re not especially hard to make by hand, it takes a lot of time screwing around with the CNC router, lathe and then gluing on all of the individual little detail bits. In contrast it took all of about 15 minutes to draw up in 3D CAD!
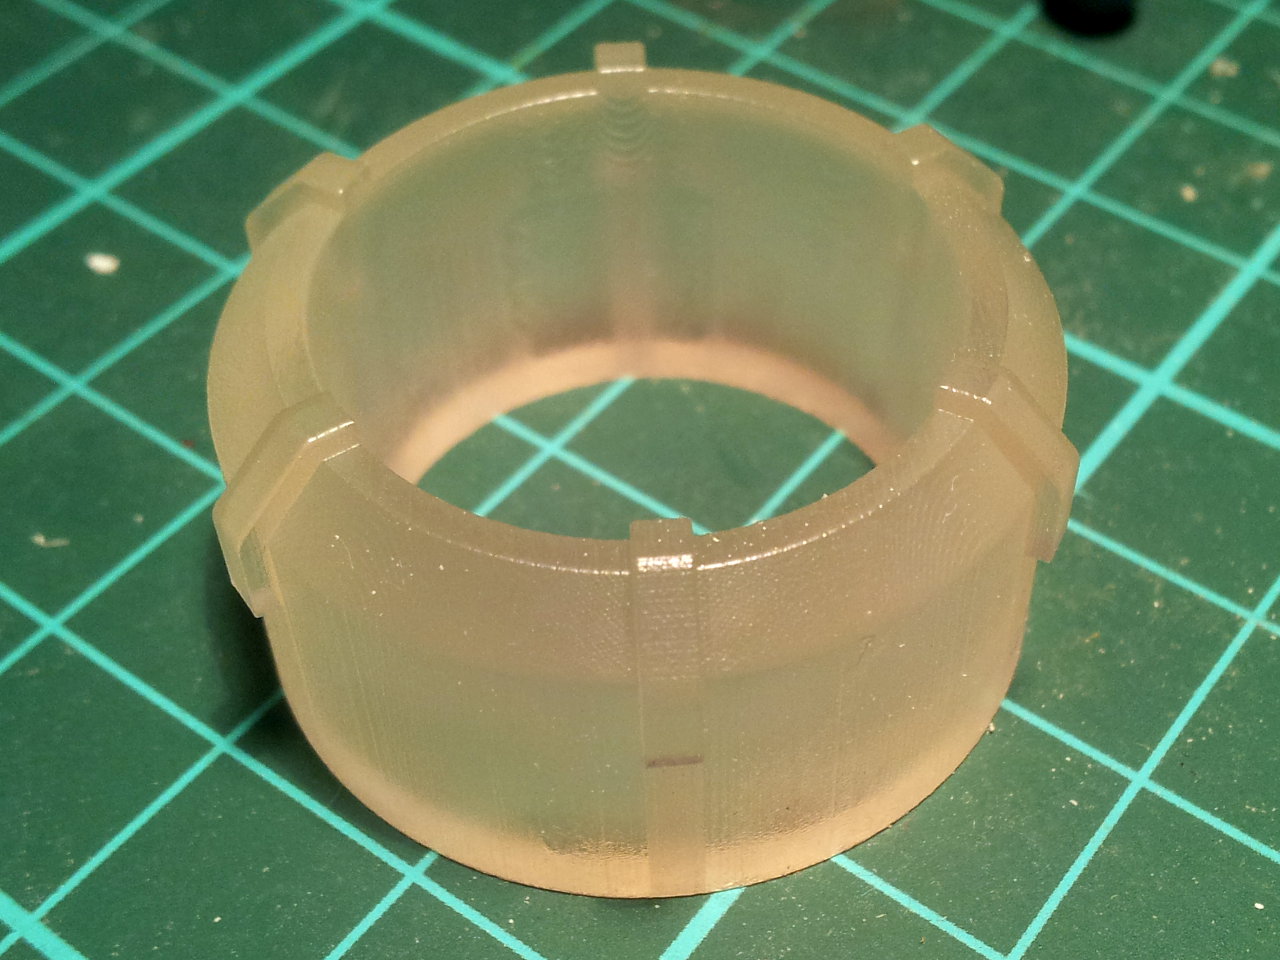
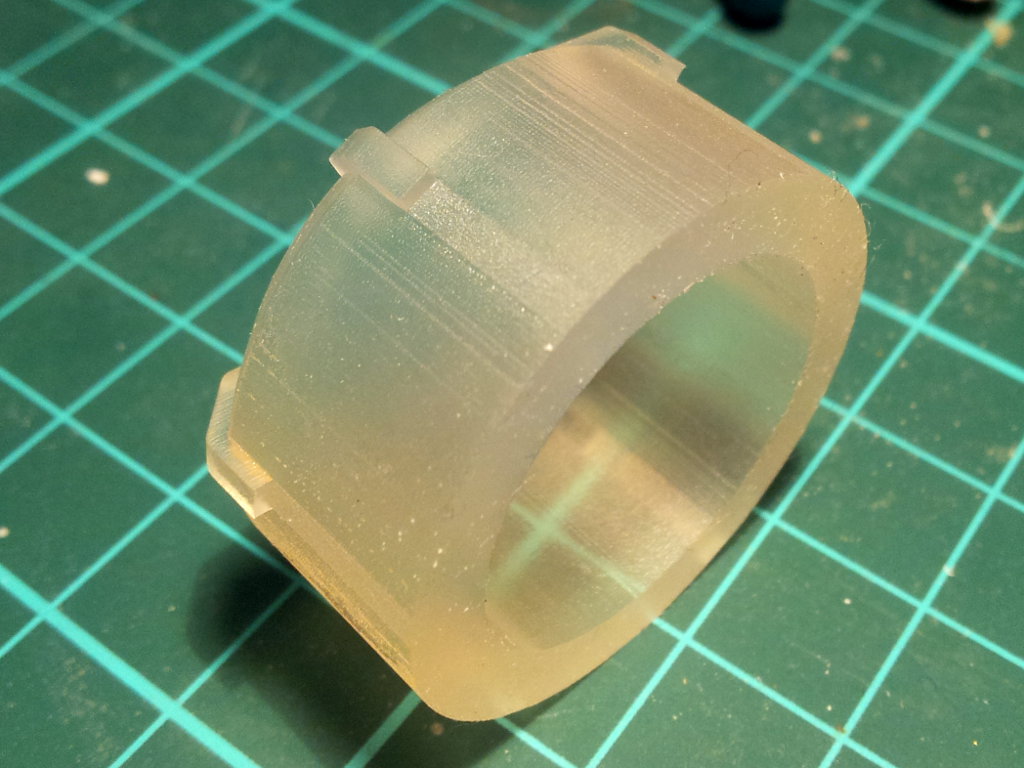
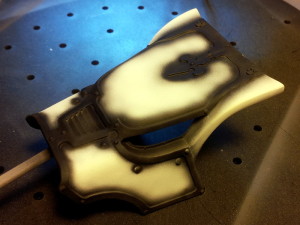
This was my first time trying Frosted Ultra Detail (called FUD for short, which I always mentally read as F!@#&d Up Detail) from Shapeways and if I’m honest I was pretty dubious as to what the surface finish was going to be like. I got two of the part printed, which cost US$25.00 each. Including shipping I paid US$70.00 all up. Not cheap, but definitely cheaper than spending 3 or 4 hours making them by hand.
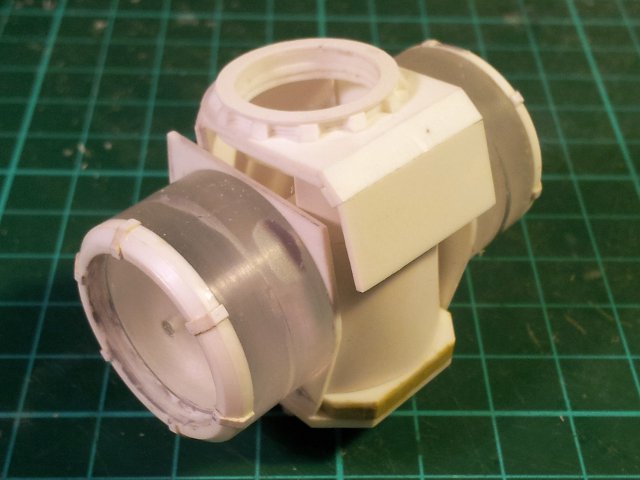
Well the parts arrived yesterday and I immediately unboxed them to see what they were like. I have to say, I was impressed. While there is still noticeable striation surface texture, it’s only very shallow. Last night I tried sanding it and can report that even without a coat of primer it actually sands very nicely with 400 grit paper. Remember though that I deliberately kept the detail on this part to a minimum in anticipation for the sanding and cleanup, which makes it easier.
Pics (the unsanded part – click for high res):


So would I use Shapeways again? For printing basic parts of a master model, almost certainly. Figures or highly detailed parts I personally don’t think I’d be happy with, but I’m sure it would do for others who are less anal about it than I.
With the new parts in hand I did some laying out of the Centurion torso last night (between the painfully boring job of painting the brass banding on the armour plates of my Warhound). I’ve got some ideas and will begin doing some proper design tonight. Hopefully I’ll have an update later in the week 😉
Posted by
Mangozac on July 2, 2013
You may have noticed parts of the RA site being unavailable lately. I’ve been having issues with the server for some time and last week I decided to try out a new server. The transfer went fairly smoothly other than a small mistake I made, which delayed things a bit 
Anyway I’m sorry for the site’s down time and hope that the new server gives us much better performance!
Mangozac
Posted under
Uncategorized


 The first in-house product has been added to the RA Shop: my space ship Spear Prows.