


I have been making progress on this but have struggled to find time to post about it! This update was completed during the week, but I’m only now posting these images.
I’ve sprayed a few markings onto the Fiddler, inspired by those shown on Don’s latest render. To do this I took some measurements, drew up the markings in Inkscape and then printed them out. I then placed the printout atop some 18mm width Tamiya tape temporarily stuck to my cutting mat and used a knife to cut through both the paper and the tape. The tape was carefully lifted and fixed to the Fiddler.
This was done on both thighs and I also did a unit number marking on the top left of the torso.
One other thing I did try was to stipple on a small amount of liquid mask after I had applied the templates to the model (to simulate where the markings had been chipped or worn off). After spraying Tamiya white I removed the tape and the liquid mask, but the the result was less than impressive. Perhaps I just aren’t yet skilled enough in applying liquid mask but it simply didn’t give me the effect I wanted. So I brushed some Vallejo white over the top of the sprayed markings to make the chips less severe and much finer.
The masked thigh:

After removing the mask:
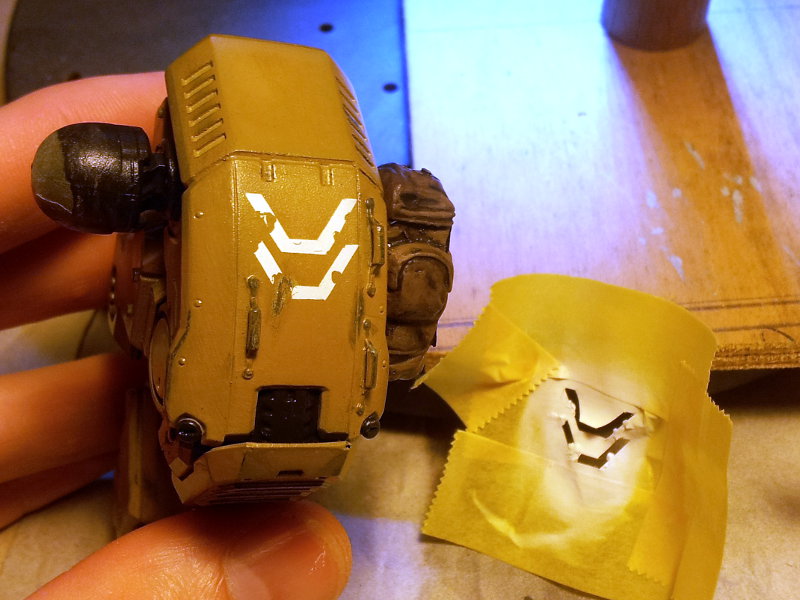
Unit marking:

Pretty pleased with the overall result. I’ve since given it all a coat of gloss clear and have begun applying weathering oils and washes. For vents and deep panel lines I’m using thinned artists’ oil paint. For everything else I’m using AK-Interactive AK-121 OIF & OEF wash (which is just a clay brown colour). The first time I tried the oil based weathering techniques (on my Superheavy Assault Walker) I had a lot of trouble because I hadn’t laid down a suitably consistent gloss clear coat. I’ve not made that mistake here however and applying the oils works like a dream!
I’ve found that the wash needs to be shaken up pretty regularly during use (like every 5 minutes) in order to keep the pigment nice and suspended – maybe you’re supposed to decant some of it into a palette rather than apply straight from the bottle. I’m about halfway through this stage and will have a photo update when it’s done.
Once oils are done I think we’ll be ready for final assembly (exciting!).
Leave a Reply
You must be logged in to post a comment.