

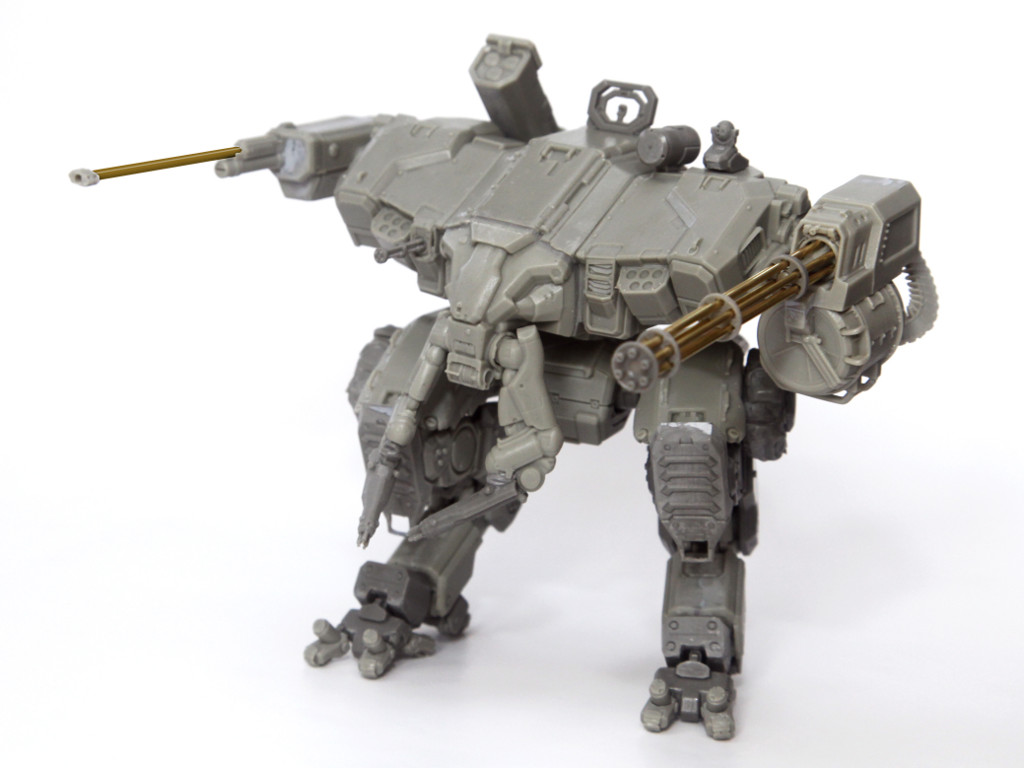
I’ll start off with full disclosure: bringing this design to resin has been my pet project for the past year. The Fiddler is an awesome design created by the talented artist Alex Iglesias back in 2010 (original artwork). An equally talented 3D modeller named Don Bradford then created an insanely detailed 3D animation model. Last year I arranged a license agreement, had it prepped and then 3D printed and now my mate Alan from Black Dragon Castings/White Dragon Miniatures is casting and distributing them. I got my hands on a pre-production kit ahead of the product launch at Salute 2013 this weekend in the UK.
Darkmessiah got one of the other pre-production kits and painted it in a fantastic digicam: http://www.coolminiornot.com/329738. I decided however that I wanted to paint mine more in line with Don’s 3D render: more like a modern US tank in a sand colour and with lots of worn paint. I figured it would be a perfect opportunity to use the advanced “hairspray chipping” technique. In stead of hairspray though I’m using the Mig Productions “Absolute Chipping”.
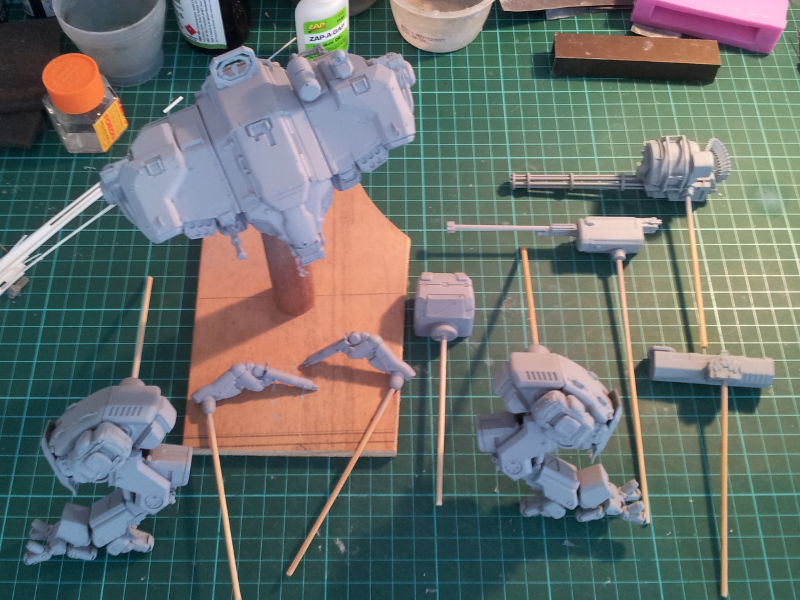
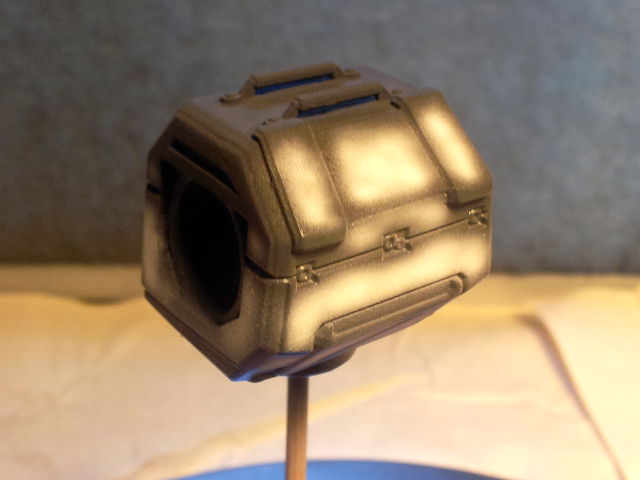
First up, some assembly shots ![]()
Unbagged:

I skipped pics during cleanup and assembly because it was kind of boring. So straight to the temporarily assembled model (it gets broken back down into sub-assemblies for painting):
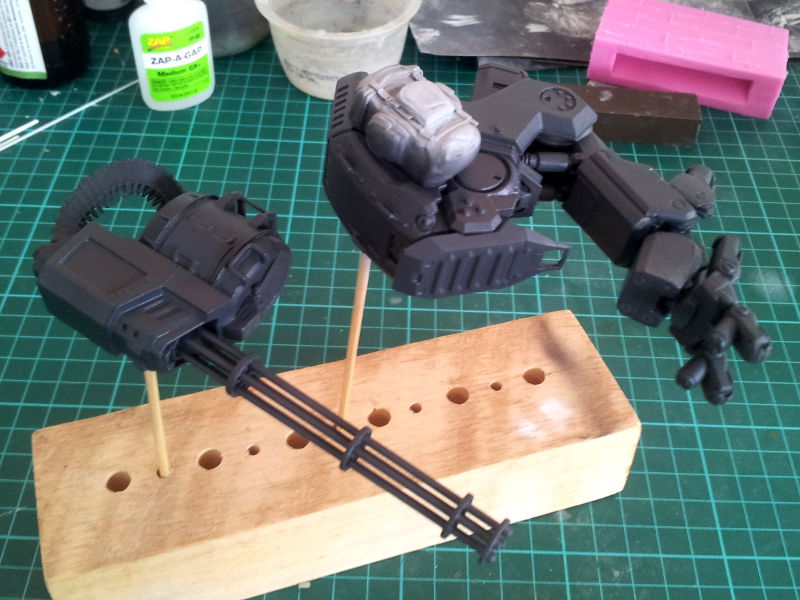
I prime with my favourite primer: Tamiya Surface Primer (grey).
Next up all of the parts got a coat of Tamiya XF-63 German Grey, followed by two coats of Pascoes Floor Polish (a clear coat). Note that I use Tamiya thinner too, as I find it works really well.
From here on I’m in uncharted territory (for me anyway) so I proceeded just with the pelvis piece to experiment. I sprayed on two coats of the Mig Absolute Chipping and let it dry:
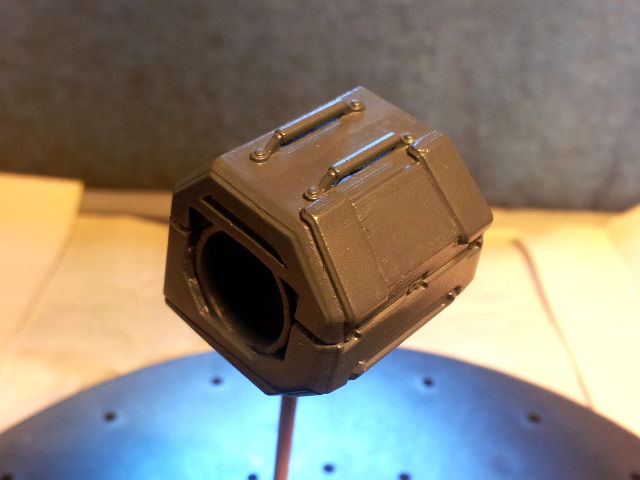
Next I did some pre-shading for the main coat. I sprayed XF-1 Flat Black onto the bottom surface of the pelvis to shade the underside. Then XF-2 Flat White was painted roughly into the centre of each of the panels (except for the bottom panels).
Over this I sprayed a coat of XF-60 Dark Yellow. At this stage it’s hard to see the effect of the pre-shading but in the past I’ve found that once the paint receives a clear coat it become much more defined. That’s just how flat the Tamiya colours are!
Immediately after cleaning the airbrush I set upon the part with some water, old, stiff brushes, a toothpick and a toothbrush. The idea is that the water causes the chipping fluid layer to dissolve in a controlled manner, causing the outer layers of paint to chip off. Unfortunately it didn’t work fantastically – I think either the chipping fluid needed more coats or the coats needed to be thicker. In the demo video for Absolute Chipping they brush it on so I might try that on the next part tomorrow night…
Still after a bit of perseverance I got some decent chipping effects. Unfortunately it did wear through to the actual primer (rather than the dark grey “fake primer”) in a couple of spots, but that will be easy enough to fix with a brush. I’m determined to perfect this technique, since all of the armour modellers make it look so simple!

Stay tuned for more progress – I’m hoping to knock this project over pretty quickly!