Superheavy Assault Walker Build Up
Posted on 11 Mar 2012 by Mangozac in Superheavy Assault Walker, Work in ProgressIt was two years ago that I completed my Superheavy Assault Walker design. Following this and subsequently casting half a dozen copies for some people I got a bit sick of the project and had lost the urge to have one of my own. A year back (and a year on from completing the original design) though I suddenly felt the urge to have a SAW of my own built up!
I’ve now seen a handful of these built up and painted around the internet, but I don’t feel that any of them have captured the kind pose I had intended for the model. So this is my chance to set the record straight as to how it was supposed to be assembled ![]()
Since my moulds were partially worn out and I didn’t have the time or motivation to cast it up myself, I decided to order a kit from Chapterhouse (exercising my designer’s discount and purchasing it at cost). It still worked out pretty expensive by the time I paid for post, but I’m not complaining. I got most of the parts cleaned up and ready to go and then got sidetracked with non-hobby stuff (girlfriend, work, commissions) so it got shelved. Actually the larger reason for shelving the project was because I was struggling with the base that I was going to mount it onto. I did periodic work on the base building it up with foam but was still pretty uninspired with it.
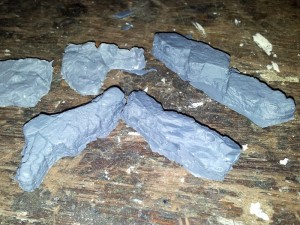
Recently I caught up with my mate Jas and decided to show him the progress I had made and ask for his advice on where to take it. I explained that I wanted to represent the edge of a cliff in an arid Afghan style landscape. He gave me the perfect answer: Woodland Scenics Rock Moulds. So I had a browse and ordered a C1243 Base Rock mould. Postage was stupidly slow for some reason (probably because it was so cheap) but then this week, after a month in transit, it finally arrived. I hit the mould with some release spray and mixed up a 4PU resin (tinted grey) and talc (as a filler so not to waste resin) combination, which was then sloshed around in the mould until it gelled. The idea being to cast the rocks “hollow” (even though they are single sided).
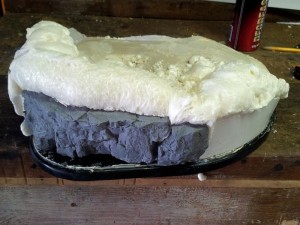
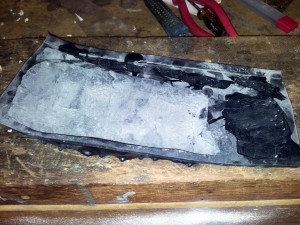
I had built up the base with another layer of foam since the pics above, and these were the perfect height for the large rock mould parts. So I hacked off part of the foam and hot glued the rocks in place. The edges of the base that represent where the base had been “cut from the earth” I wanted to be flat and painted black so I glued in some styrene sheets and used a heat gun to curve them around.
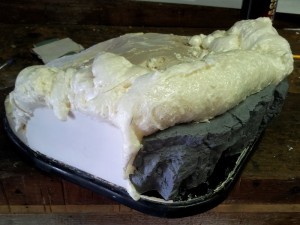
With all this done the last step was to attack the base with expanding foam to fill all of the gaps and level things out. Man the expanding foam really expands! That brings us to the current state as of 11:30 this morning:

Next step will be to trim the foam back and then I can start looking at the ground cover mix. The bush out the back of my work has provided a perfect sand/gravel mixture that I have washed and dried in preparation for the base. The legs and pelvis are all ready to go, so soon I will be ready to drill the holes into the base for the bolts that will screw into the feet to hold it in place.
Don’t expect frequent updates on this one, since this little flurry of activity has happened while waiting for another mate Wereweevil to sculpt me up a pilot blank for my Centurion Mecha project (which he also completed this week).
Leave a Reply
You must be logged in to post a comment.


